

1. Clone the repository
2. Install dependencies
3. Update the environment variables
a. Go to theconfig/.env.base file and update the env variables. There’s no sensitive information in this file. All sensitive information is stored in AWS Secrets Manager.
config/.env.production file and update the AWS account ID and region.
4. Deploy MailDiver
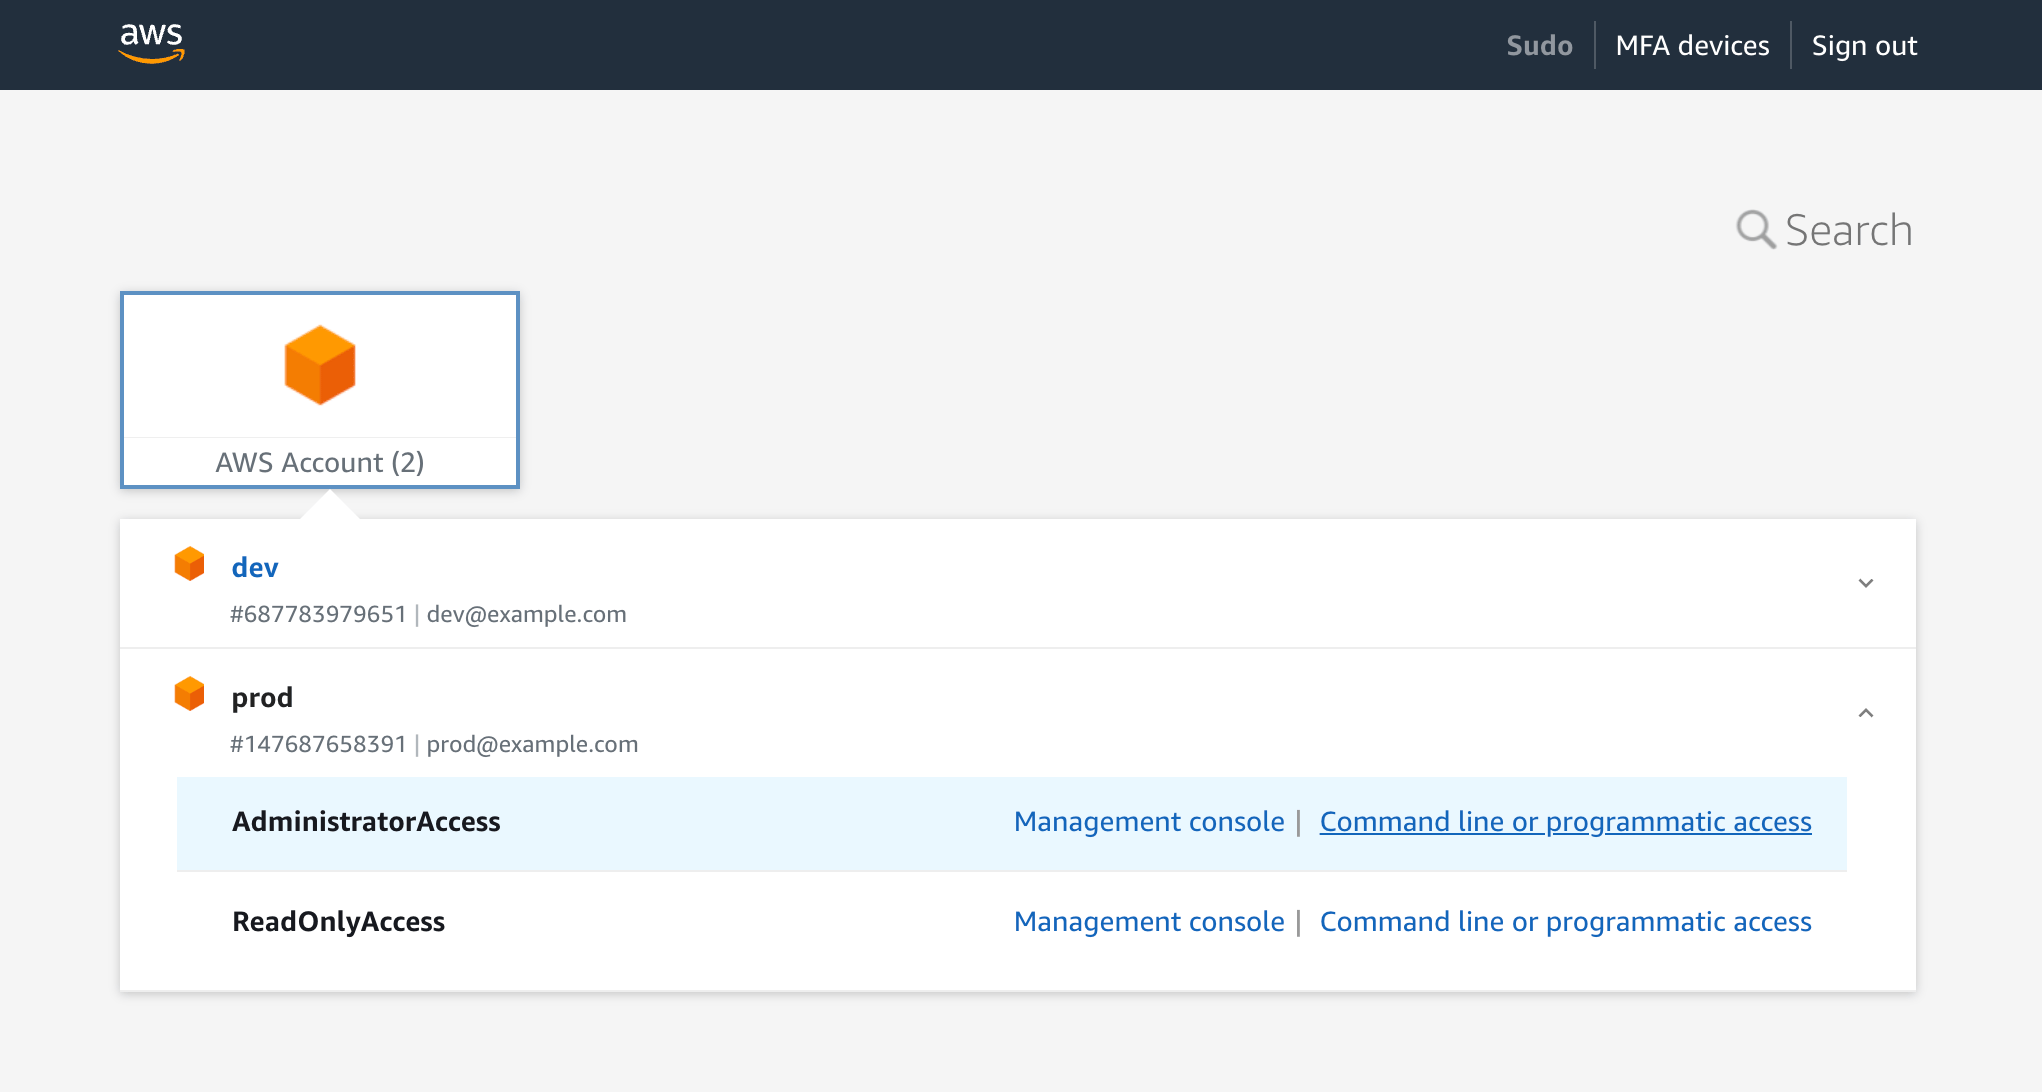
a. We need AWS credentials since we deploy from our local machine. Open your AWS access portal URL. You can find the URL in your email when you create a new user. Open theprod account (or the main account) and go to the Command line or programmatic access tab.
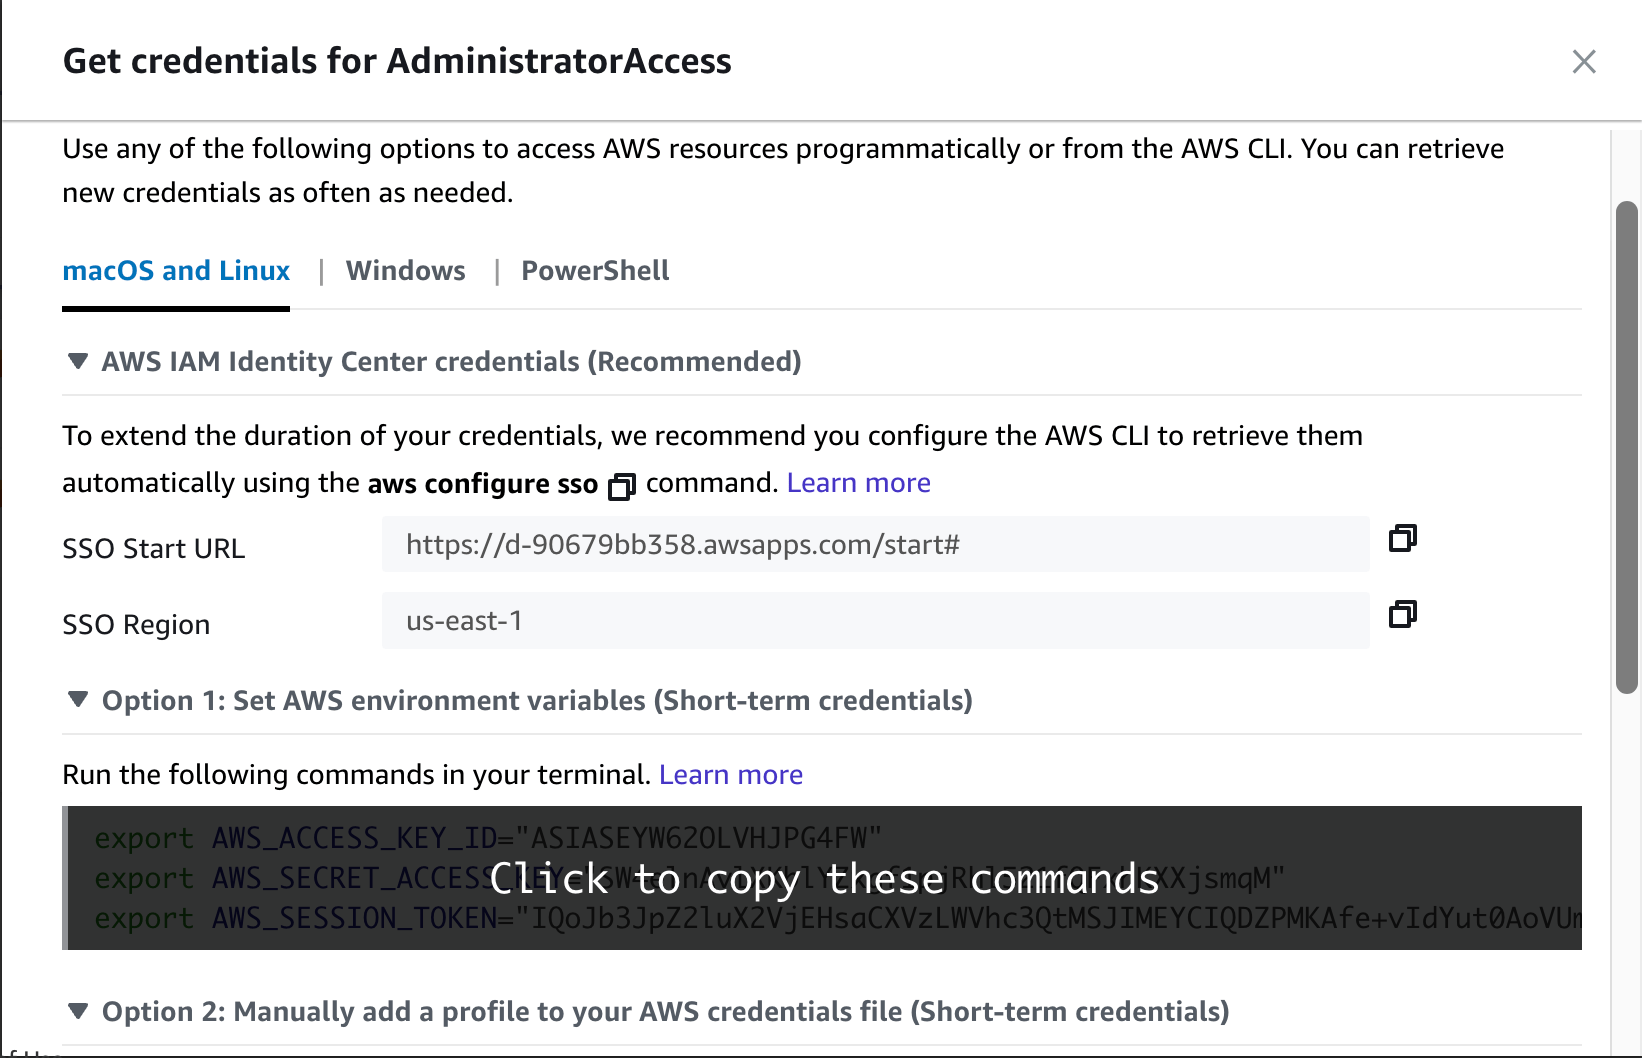
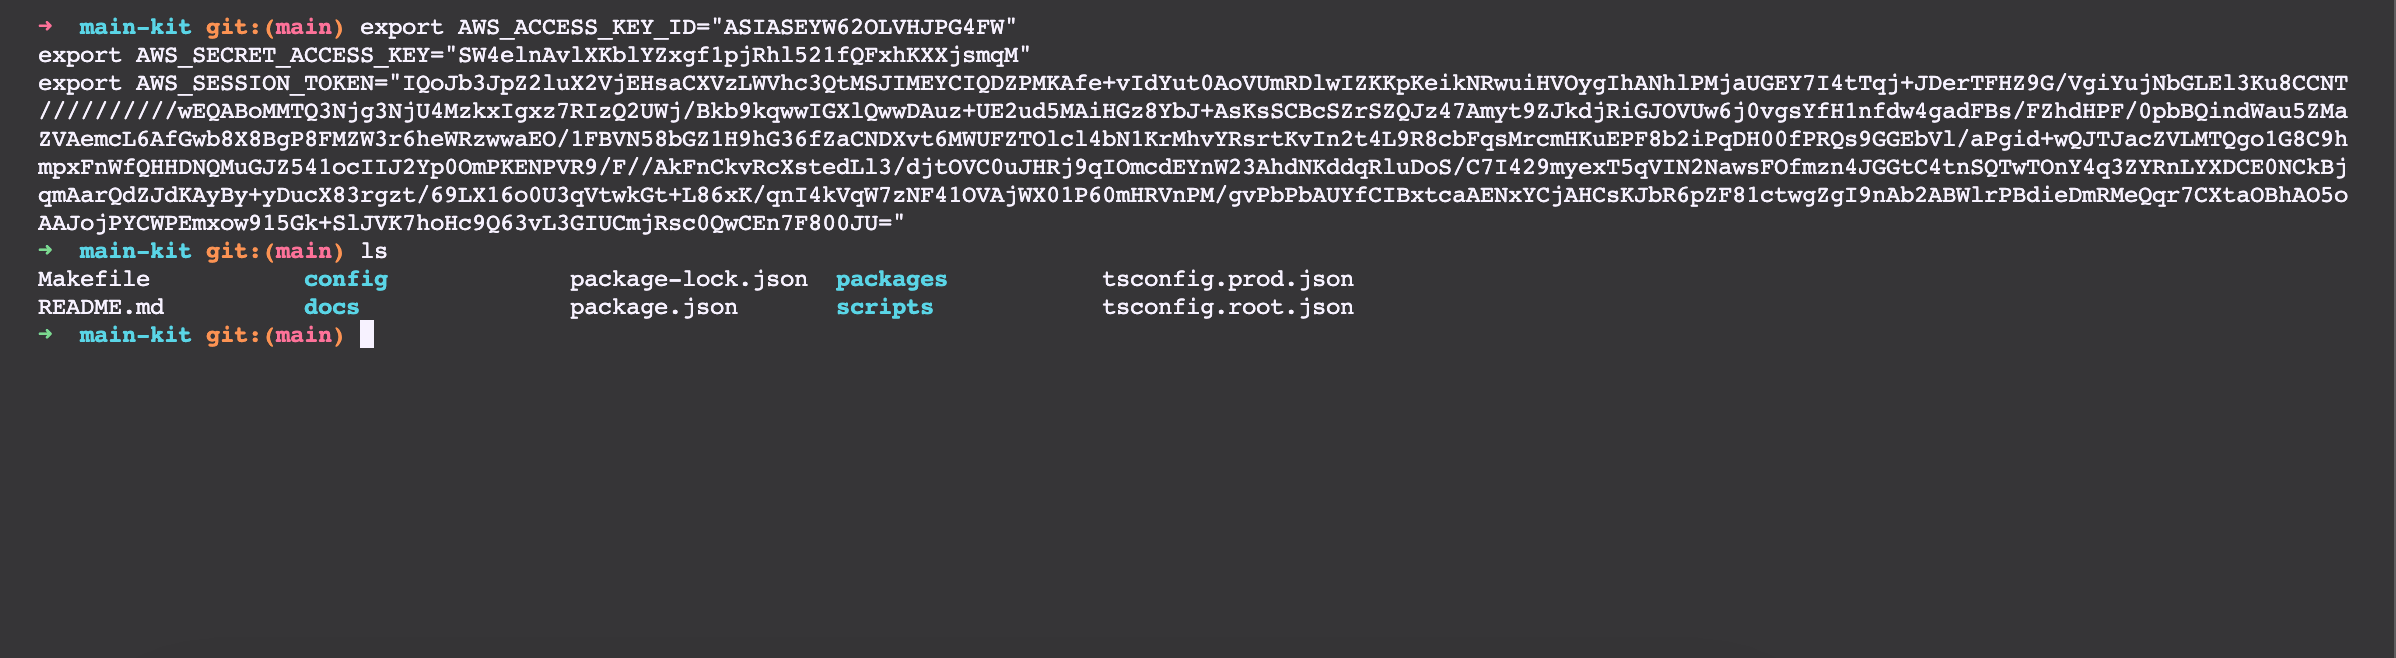
us-east-1 region, even if your region differs. We use us-east-1 for the domain and certificate management.
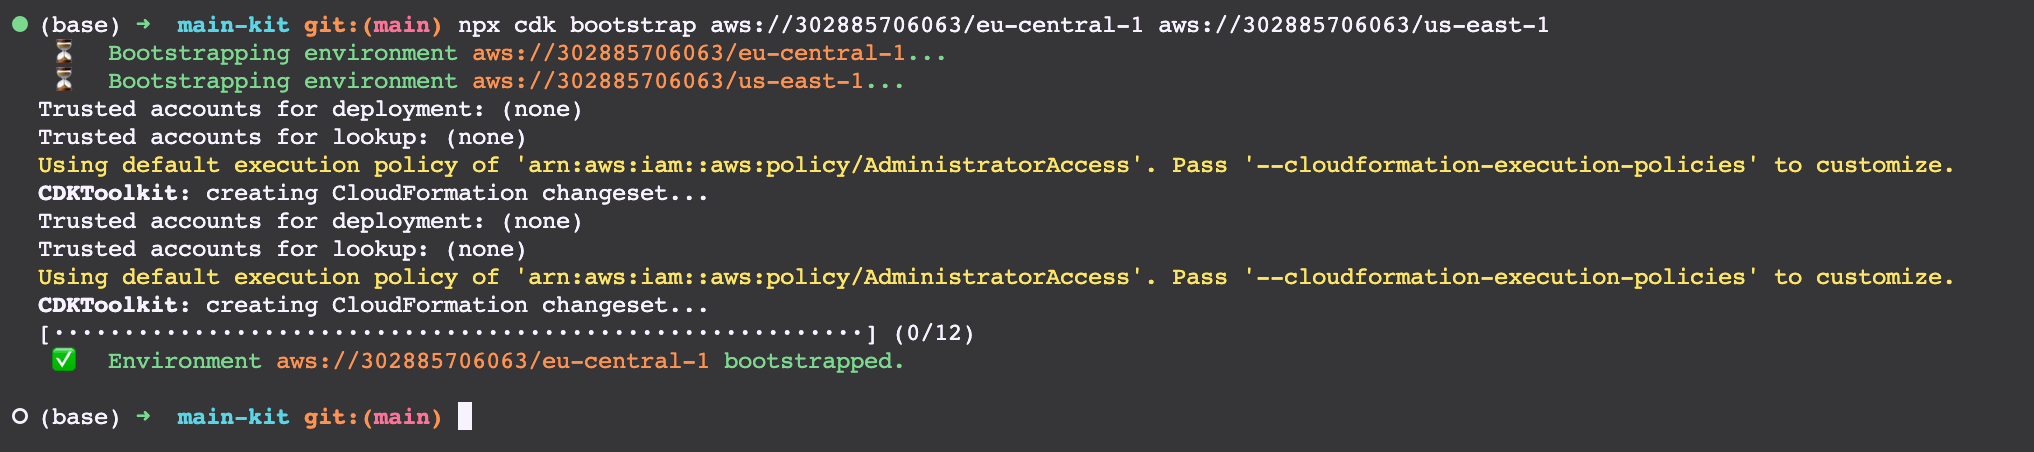
make deploy-prod.
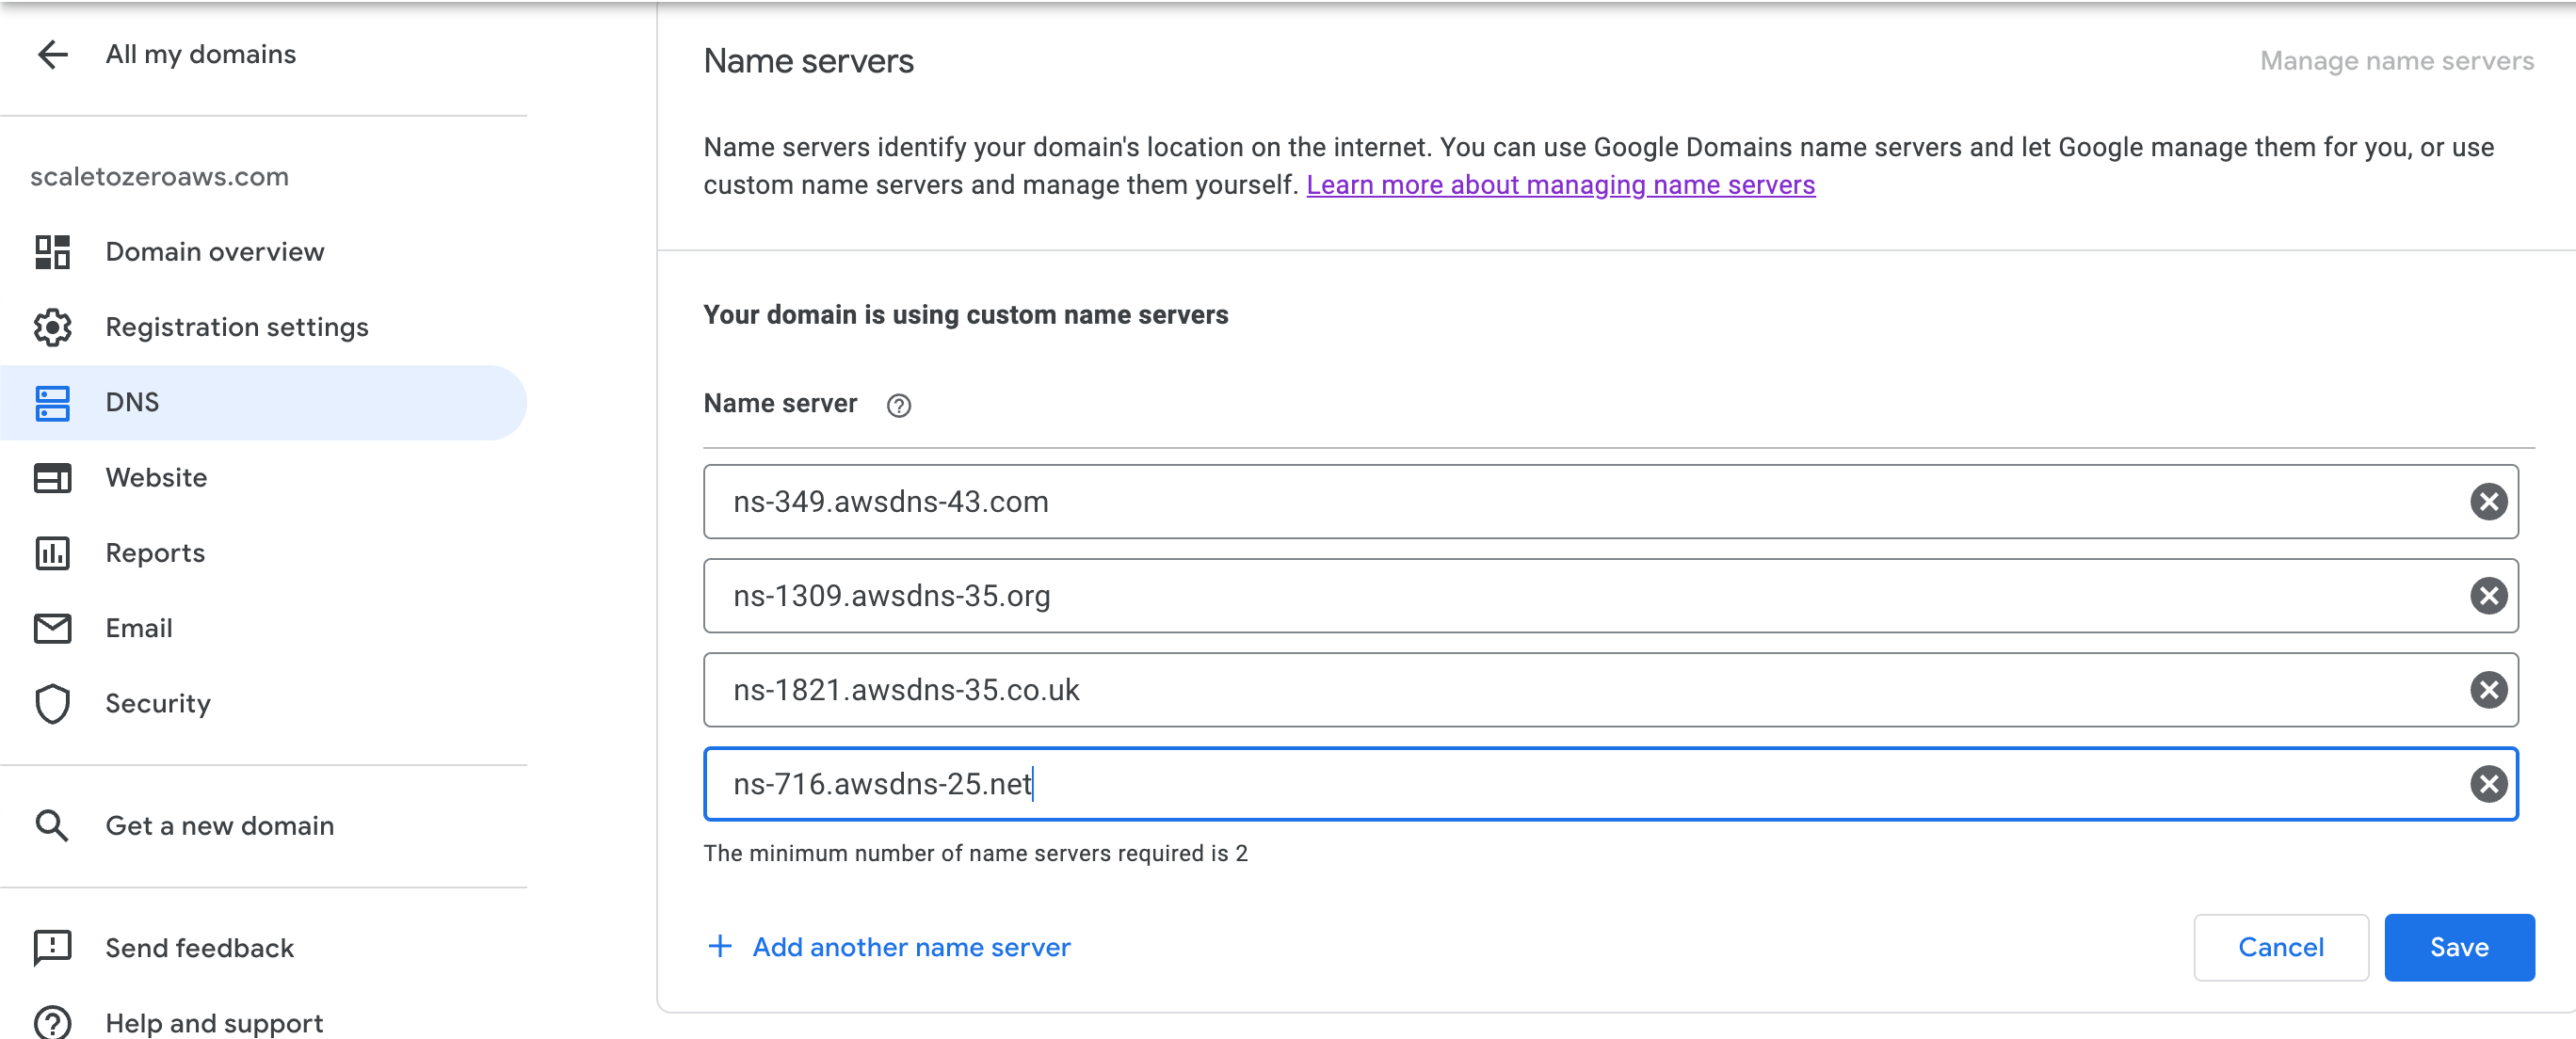
1/3 Currently in progress, it means we need to configure the name servers. We will do that in the next step.
The stack deployment will not continue until you perform the actions below. It awaits for the validation and after configuring the name servers, it will automatically continue.
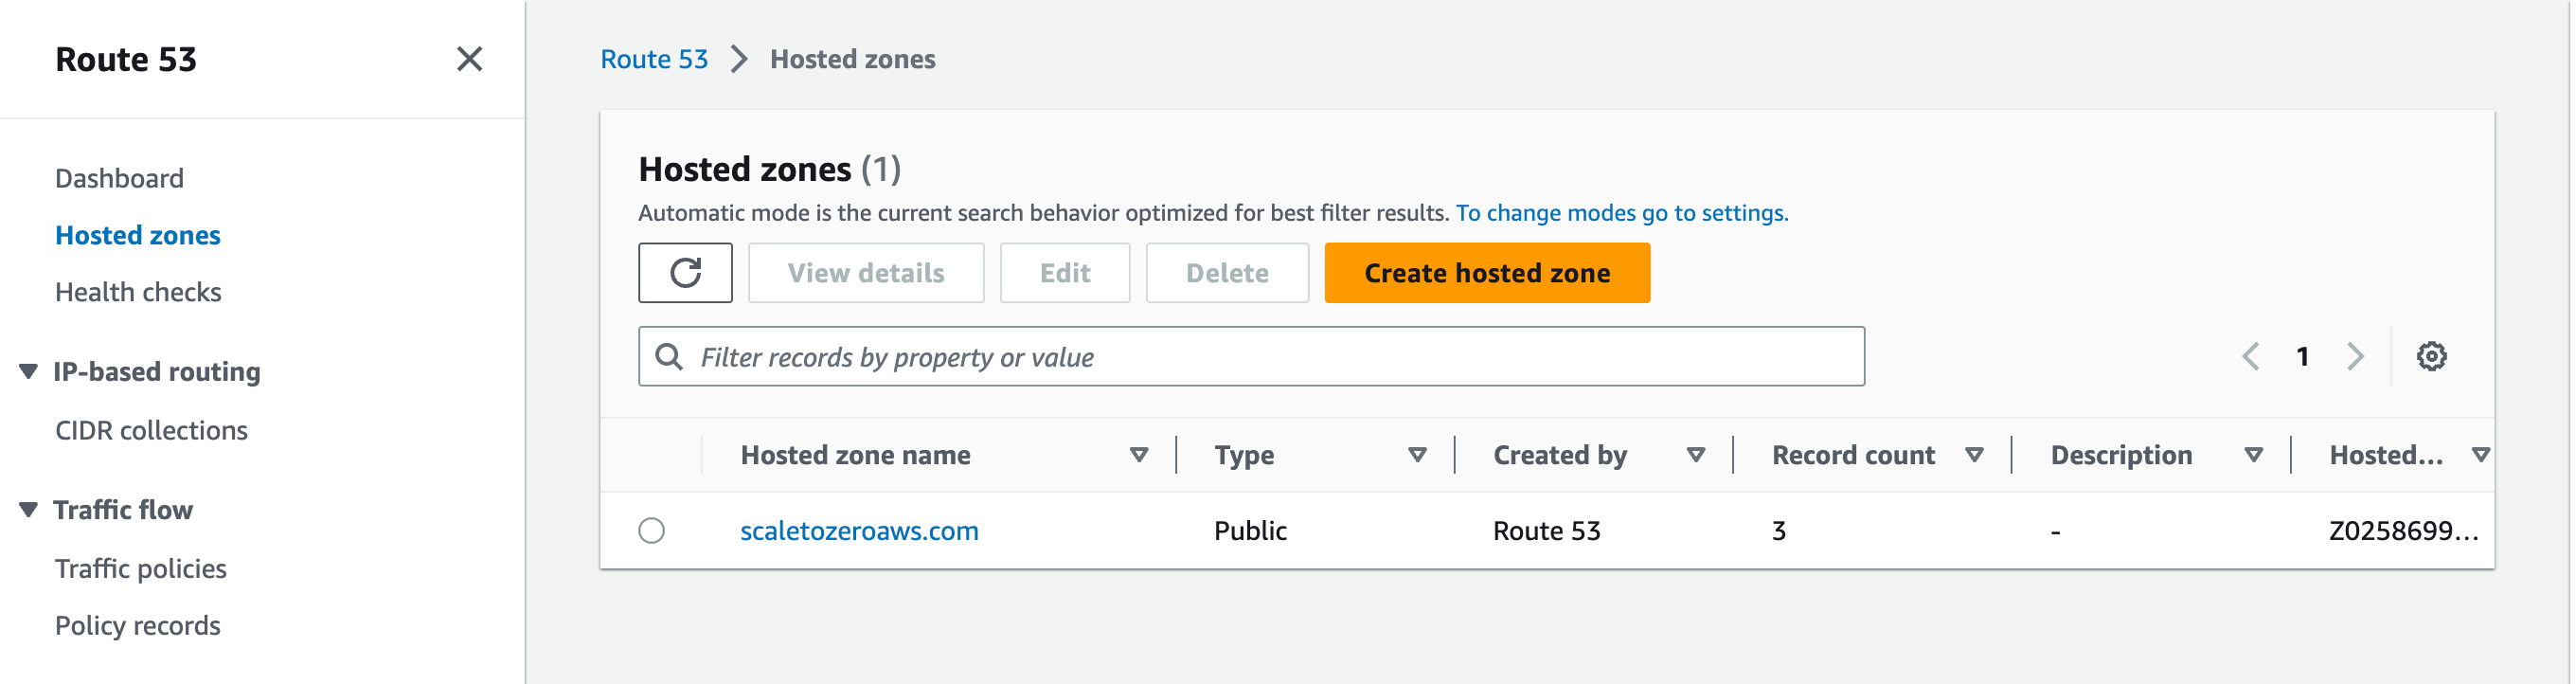
Grab the name servers (four records) from AWS (Go to Route 53 and click on the hosted zone).
If you want to deploy to the dev account, repeat the steps above with the dev
account. The only difference is you add your dev domain NS records to your AWS
prod account (Route 53), because your root domain is now managed by AWS.